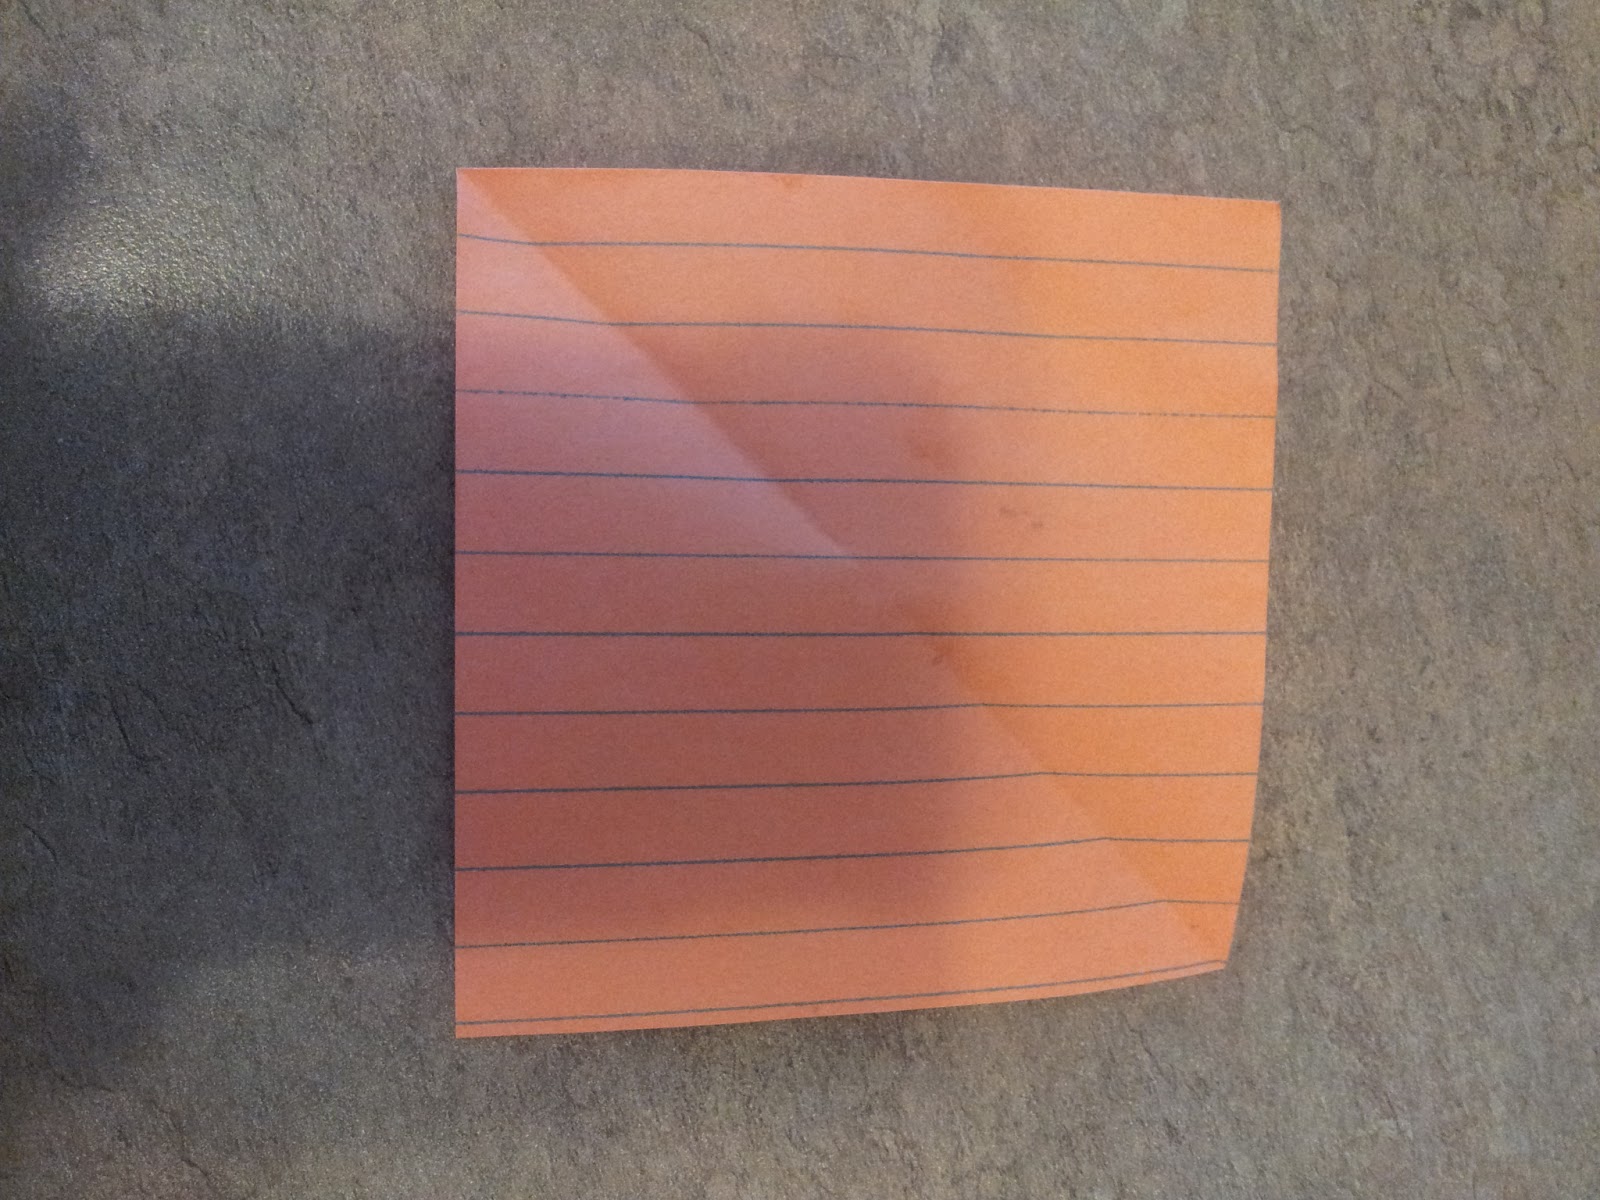
Technically speaking, this post would have been better if I had taken pictures along the way, but sometimes I get so excited about what I'm attempting that I have no time for things such as photographs. In order to explain what I mean, I used a paper. I know it makes it less believable, but you'll just have to trust me on this.
If you've ever cleaned out the house of someone who lived during the era when people actually had company over for dinner because they weren't afraid of being robbed blind the next day by the dinner guests who were scoping out the house, a time when dinner was a family affair and not just a way of joining together to make sure no one had died during the day, a time when one needed a linen closet or cabinet because linens were actually used, you probably have come across some small square tablecloths. Many of them are edged in lace or embroidered or a combination of the two.
I happened to inherit two such pieces from a coworker. Without the sentimental attachment I would have had if it had belonged to my grandmother, for example, I felt at liberty to cut them up, especially since both were stained. Imagine the orange square of paper is one of the tablecloths.
The first step is to find the center of the piece. This can be done by folding the corners together in either direction and marking the center with a pin.

Once the center is established, measure out and make marks at an equal distance from the point so that you make a quarter of a circle. The size of the circle depends on two things: 1.) how much of the design you want to preserve 2.) your size. You can't expect to cut a circle with a circumference of 17" unless your hips are 17" or less. It can be larger than your hip circumference, just not smaller if you have any hope for regular movement. Too small and you'll walk like you're in need of a bathroom. I am certain there is a mathematical equation for determining the size of the radius of your circle. I struggled in Geometry. To give you an idea though, if the radius (from the center point to edge of the circle, or in this picture, from the point to where the circle is drawn) is 7", the hole has a diameter of approximately 44", which I can neither confirm nor deny as my hip size.

When you cut out the center, you are left with a square with a circle in the middle. This is the hem portion of your skirt. To construct the upper portion of the skirt, you'll need a rectangle. The size, once again, depends on the size of your opening. The minimum should be the measurement of your hips at the widest part plus 1 1/4" and the maximum should be no larger than the circumference of your circle opening.
Essentially what you are doing is making the rectangle into a cylinder that fits inside the tablecloth square. If you are confident with your measuring and cutting skills, make the cylinder first and then stitch one edge to the circle. I'm not, so I left it a rectangle and pinned the longer edge to the circle where I stitched it. As I got close to closing the circle and the adjacent edges of the rectangle, I then made the single seam that closed the rectangle into the tube needed.

The last thing to do is to measure for length. Keep in mind that the points will hang down further than the sides. Also determine if you want it at your waist or lower. When you've decided, mark the waistline and cut off the top leaving enough excess for a casing for elastic. If you are more sophisticated and less lazy, you could also do darts and a waistband with a zipper or make a sundress top, or even have someone mark it for you so that it is tailored to your figure and your hem hangs an exact distance from the ground at all four points around your body. I have approximately 2 hours a day after my kids go to bed or before they get up. Luxuries such as well tailored clothing have all but disappeared. Besides, I think it's fine without all the extra work.
Sew in a casing, thread through the elastic that is the size of your waist, stitch it together, and close off your seam. You're done. Of course there are a couple of variations I can mention.
The skirt pictured above had embroidered cutouts in the corners and the center was solid.The fabric for the upper portion of the skirt wasn't an exact match, so I put a piece of coordinating ribbon along the seam to (hopefully) mask that fact. Also, it makes the seam look more intentional. Do you see how it used to be a tablecloth? Spread this way, it makes its tablecloth origin slightly more obvious.

This skirt, however, had lace on the edges and also in the middle. Instead of cutting a circle, I cut along the edges of the lace and then top stitched it over the rectangle. After, I went back in and trimmed the excess fabric away so that the edge between the skirt and tablecloth mimics the pattern of the table cloth.
This is what it would look like if I undressed in the kitchen; which I don't.


 This skirt, however, had lace on the edges and also in the middle. Instead of cutting a circle, I cut along the edges of the lace and then top stitched it over the rectangle. After, I went back in and trimmed the excess fabric away so that the edge between the skirt and tablecloth mimics the pattern of the table cloth.
No comments:
Post a Comment